STEP 4: CONFIGURING ZIPSIP
Now, everything with the device is done. You should have received VoipZip partition details already. If you did not receive that yet, ask VoipZip support for partition details.
Fill up the form with appropriate data. Name and password should be the same. And from collected MAC Address, you need to remove all ‘:’ (colon) sign. Also need to capitalized if there is any digit is in small letter.
If your MAC address is
50:63:13:C4:C6:B1
You should write it here as
506313C4C6B1
Click on “Create Tunnel” Button after filling up the form.
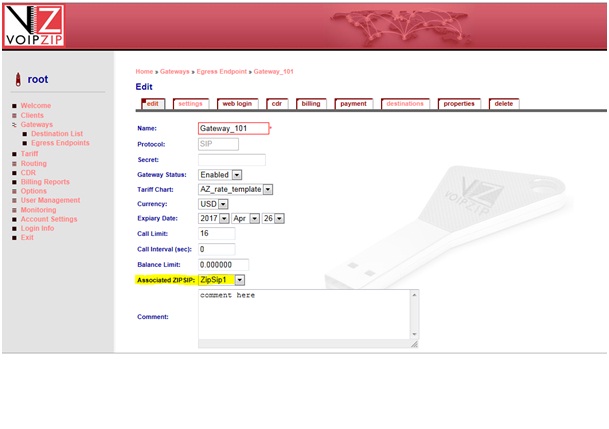
Now, while adding any gateway, indicate the ZipSip under which this Gateway is running. You can add gateways with private IP provided in ZipSip Network.
Complete gateway adding procedure and after that complete routing. And you are done. Your route is ready to take call with ZipSip and start savings.
CONGRATULATIONS. The ZIPSIP Installation is done.
Please click here for ZIPSIP MANAGER INSTALLATION GUIDE


